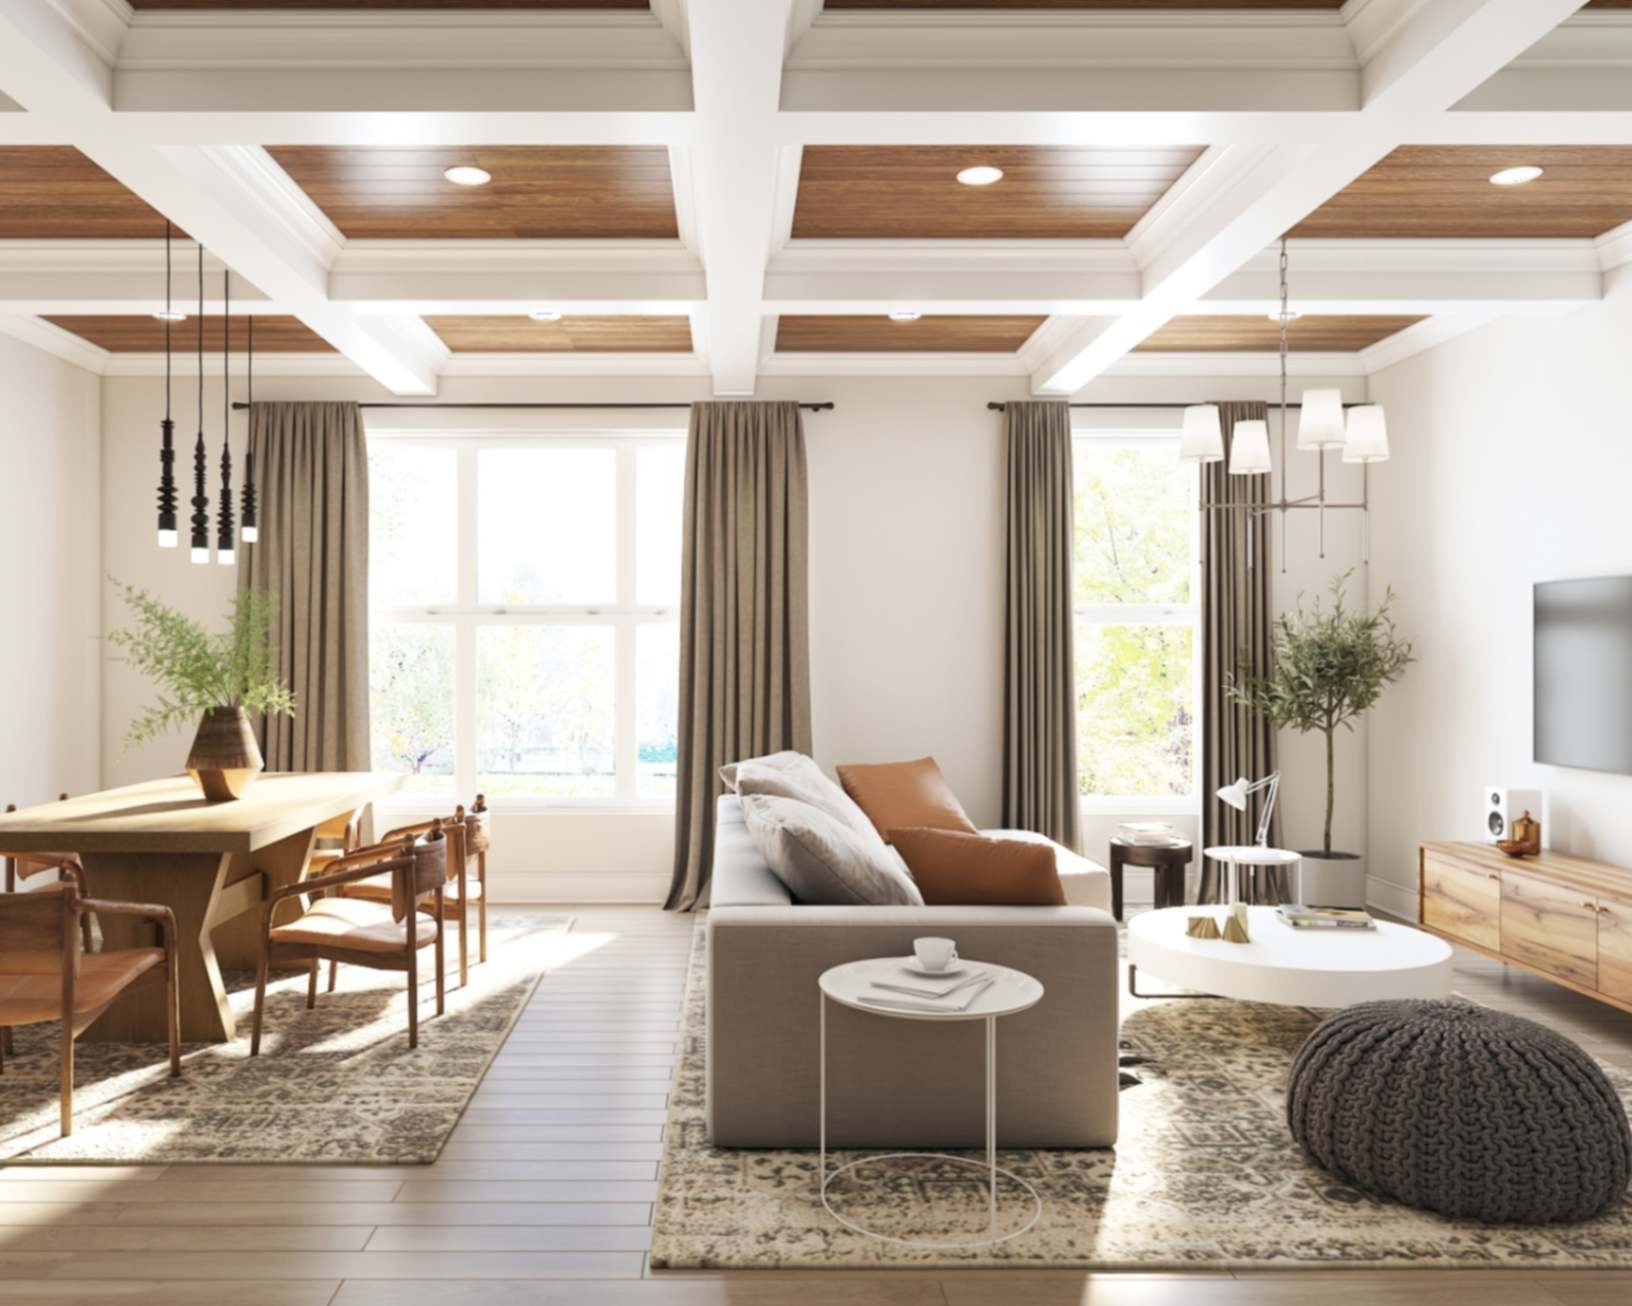
The Ultimate Guide to Coffered Ceilings: Design, Value & Style

Photo by Plan A Office
When you think about transforming a room, most people picture a fresh coat of paint, new furniture, or statement lighting. But there’s one surface that often gets overlooked—the ceiling. In design, we like to call it the “fifth wall.” Done right, it can completely shift the mood of a room. And nothing does this quite like a coffered ceiling.
Defined by a grid of recessed panels framed by beams, coffered ceilings have been gracing homes for centuries. Once reserved for grand public buildings and stately residences, they are now making a strong comeback in modern Australian homes, from Hamptons-inspired builds to sleek contemporary spaces.
This guide covers everything you need to know: what coffered ceilings are, their history, design ideas, benefits, costs, installation insights, and practical DIY tips.
What Exactly Is a Coffered Ceiling?
At its core, a coffered ceiling is a grid of recessed panels framed by beams. Think of it as creating geometric “boxes” across the ceiling—square, rectangular, or sometimes even octagonal. The effect adds depth, dimension, and a sense of structure overhead.
Historical Origins
- Ancient beginnings: Coffers were first carved into stone ceilings in Roman and Greek architecture to lighten structural loads.
- Heritage presence: In Australia, you’ll find elaborate plaster coffer ceilings in Victorian and Federation-era homes, often paired with ornate cornices and ceiling roses.
Modern Evolution
Today, coffered ceiling designs are more versatile than ever:
- Materials: These days, you’ll see them built with plasterboard, MDF, timber, or even pressed metal.
- Customisation: You can go bold with deep beams for drama, or keep them shallow for subtle elegance..
- Visual Impact: Their biggest trick? They add depth, draw the eye upward, and can make ceilings feel taller than they really are..
Pro tip: For lower ceilings (2.4m typical in many Aussie homes), keep the recess shallow and beams narrow to avoid a heavy look.
Also Read: Raked Ceilings: Benefits, Design Ideas & Practical Considerations
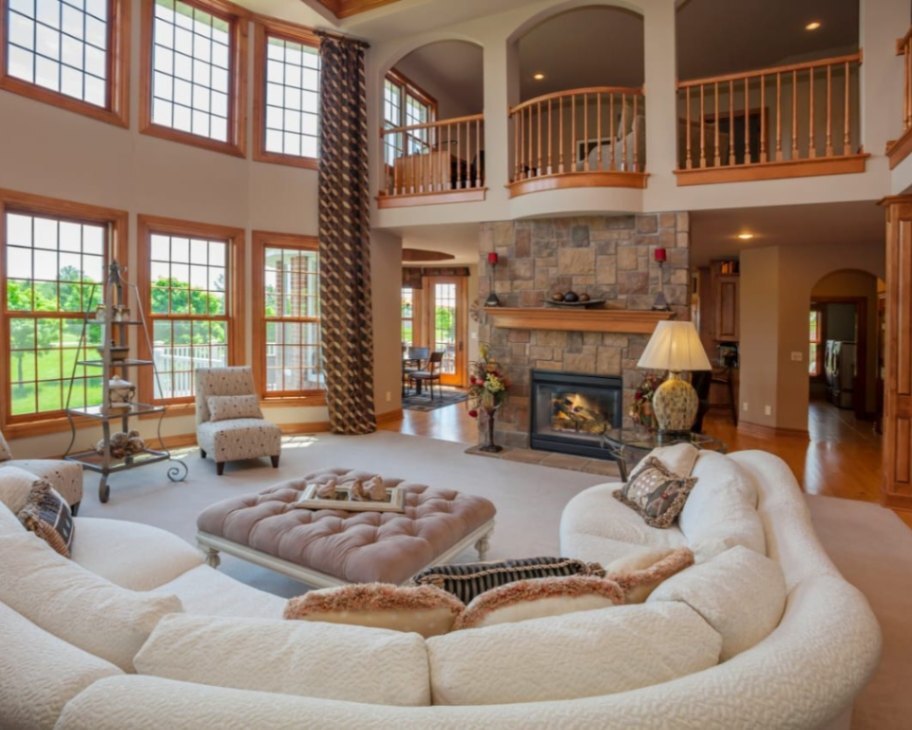
Why Do People Love Coffered Ceilings?

Photo by archideaphoto
The beauty of a coffered ceiling design is that it doesn’t just look good—it performs, too.
1. Style That Stands Out
A coffered ceiling instantly adds polish. Go classic with detailed mouldings, or keep it modern with simple, clean lines.
2. Better Acoustics
The recessed panels help absorb sound and cut down on echoes—perfect for open-plan living areas, home theatres, or even busy family kitchens.
3. Smart Functionality
Coffered ceilings don’t just look good. They can:
- Hide wiring, ductwork, or uneven surfaces.
- Make an open-plan space feel more organised by subtly dividing living, dining, and kitchen zones.
- Provide a home for clever lighting—think pendants, LED strips, or even skylights.
4. Big Impact on Space
By breaking up a flat surface, they create the illusion of extra height and volume, making smaller rooms feel larger.
5. Value Add
Real estate agents across Sydney and Melbourne often mention that unique architectural features—like coffered ceiling designs—catch buyers’ eyes and add resale appeal.
It’s rare to find a design feature that ticks all those boxes. That’s why you’ll see them in both classic homes and modern apartments across Sydney, Melbourne, and Brisbane.
Also Read: Japanese Zen Gardens: Principles, History & How to Create Your Own
Where Do Coffered Ceilings Work Best?

Photo by alabn
The short answer: almost anywhere.
Perfect Architectural Matches
- Hamptons-inspired homes: White painted beams, coastal luxe vibes.
- Heritage beauties: Victorian or Federation homes where ornate detail feels right at home.
- Cape Cod builds: Perfect with timber accents.
- Modern and contemporary: Square, minimalist grids that work with sleek interiors.
Rooms That Really Shine
- Living rooms where the ceiling can frame a fireplace or feature wall.
- Dining rooms that call for a sense of formality and symmetry.
- Hallways and entryways that wow the moment you walk in.
- Master bedrooms that feel like a retreat with added architectural balance.
- Home offices and libraries that benefit from both sound control and visual depth.
- Open-plan layouts where ceilings can do the zoning work without adding walls.
Pro tip: If your space is smaller, go for fewer, larger panels rather than a tight, intricate pattern. It keeps things feeling light and uncluttered.
Overview: How Are Coffered Ceilings Built?

Photo by vicnt
Installing a coffered ceiling is part planning, part precision. Here’s the journey in plain terms.
Step 1: Planning the Layout
Start by checking your roof cavity to ensure there’s enough depth. Measure carefully and sketch or digitally map out your grid so the proportions match the room size.
Step 2: Building the Framework
Box beams are usually built in a U-shape from timber or MDF. Laying out the full pattern on the floor before securing anything helps avoid costly mistakes.
Step 3: Installing Panels
Once beams are fixed into place, the recessed sections can be filled with plasterboard, VJ panels, or decorative pressed metal. It’s also the right stage to plan lighting or skylight integration.
Step 4: Adding the Finishing Touches
Mouldings like scotia can add elegance to each recess. For DIY, simpler profiles are easiest—leave the intricate corners to a carpenter. Sand, fill, and paint for a flawless finish. White is timeless, but stained timber or even wallpapered coffers are trending.
Pro tip: Always double-check if structural changes require council approval. The Australian Building Codes Board (ABCB) is a good starting point for compliance.
Also Read: Japanese Zen Garden Ideas: Tranquil Design Principles for Effortless Outdoor Serenity
How Much Do Coffered Ceilings Cost?

Photo by Vasyl Cheipesh
Coffered ceilings are considered a premium interior feature in Australia, and while they do come at a cost, the investment often pays off in both aesthetics and property value.
Typical Price Range per Square Metre
For most Australian homes, a standard coffered ceiling in timber or MDF sits between AUD $300–$400+ per m² for mid-range quality finishes. Higher-grade timbers or ornate moulding profiles push the cost higher, while simpler grid layouts keep it more affordable.
Project-Based Estimates
- Small to medium rooms (living, dining, or bedrooms): Expect AUD $2,500–$4,000+, depending on material selection, ceiling size, and level of detailing.
- Larger spaces or custom layouts: Costs can escalate quickly, particularly if additional structural adjustments are required.
In summary, every project is unique—labour rates and material choices can swing the price significantly.
What Affects the Cost
A few key factors influence overall pricing:
- Materials & moulding profiles: Premium hardwoods or intricate trims increase expenses.
- Depth & complexity: Deeper coffers or angled grid patterns require more labour.
- Finish: Painted, stained, or wallpapered recesses all alter the budget.
- Professional drafting/design: Complex ceiling plans often need professional drawings.
- Labour: City-based tradies typically charge more than regional ones.
- Existing ceiling condition: Old plasterboard or structural beams may need rectification before installation.
DIY vs Hiring Professionals
- DIY approach: Using MDF panels and prefabricated mouldings can cut costs by half, but requires strong carpentry skills, proper tools, and precise measuring. Mistakes often lead to costly rework.
- Hiring professionals: Ensures craftsmanship, code compliance, and a polished finish—well worth it for high-visibility rooms.
The Cost & DIY Factor
Prices vary depending on size, materials, and labour:
- DIY-friendly options: From around $500–$1,500+ for a small room using plasterboard or MDF beams.
- Professional installation: Expect $150–$250+ per square metre, including materials and labour. Heritage-style coffers with ornate mouldings can push costs higher.
If you’re handy and love a project, a simple grid with shallow beams is achievable with patience and good tools. But if your ceiling has wiring, ducting, or you’re aiming for a high-end finish, it’s worth investing in a professional.
Remember: ceilings are one of the first things people notice when they walk into a room. Cutting corners (literally) can be obvious.
Pro tip: If you’re budget-conscious, consider tackling prep and painting yourself while leaving the joinery and structural work to licensed tradies.
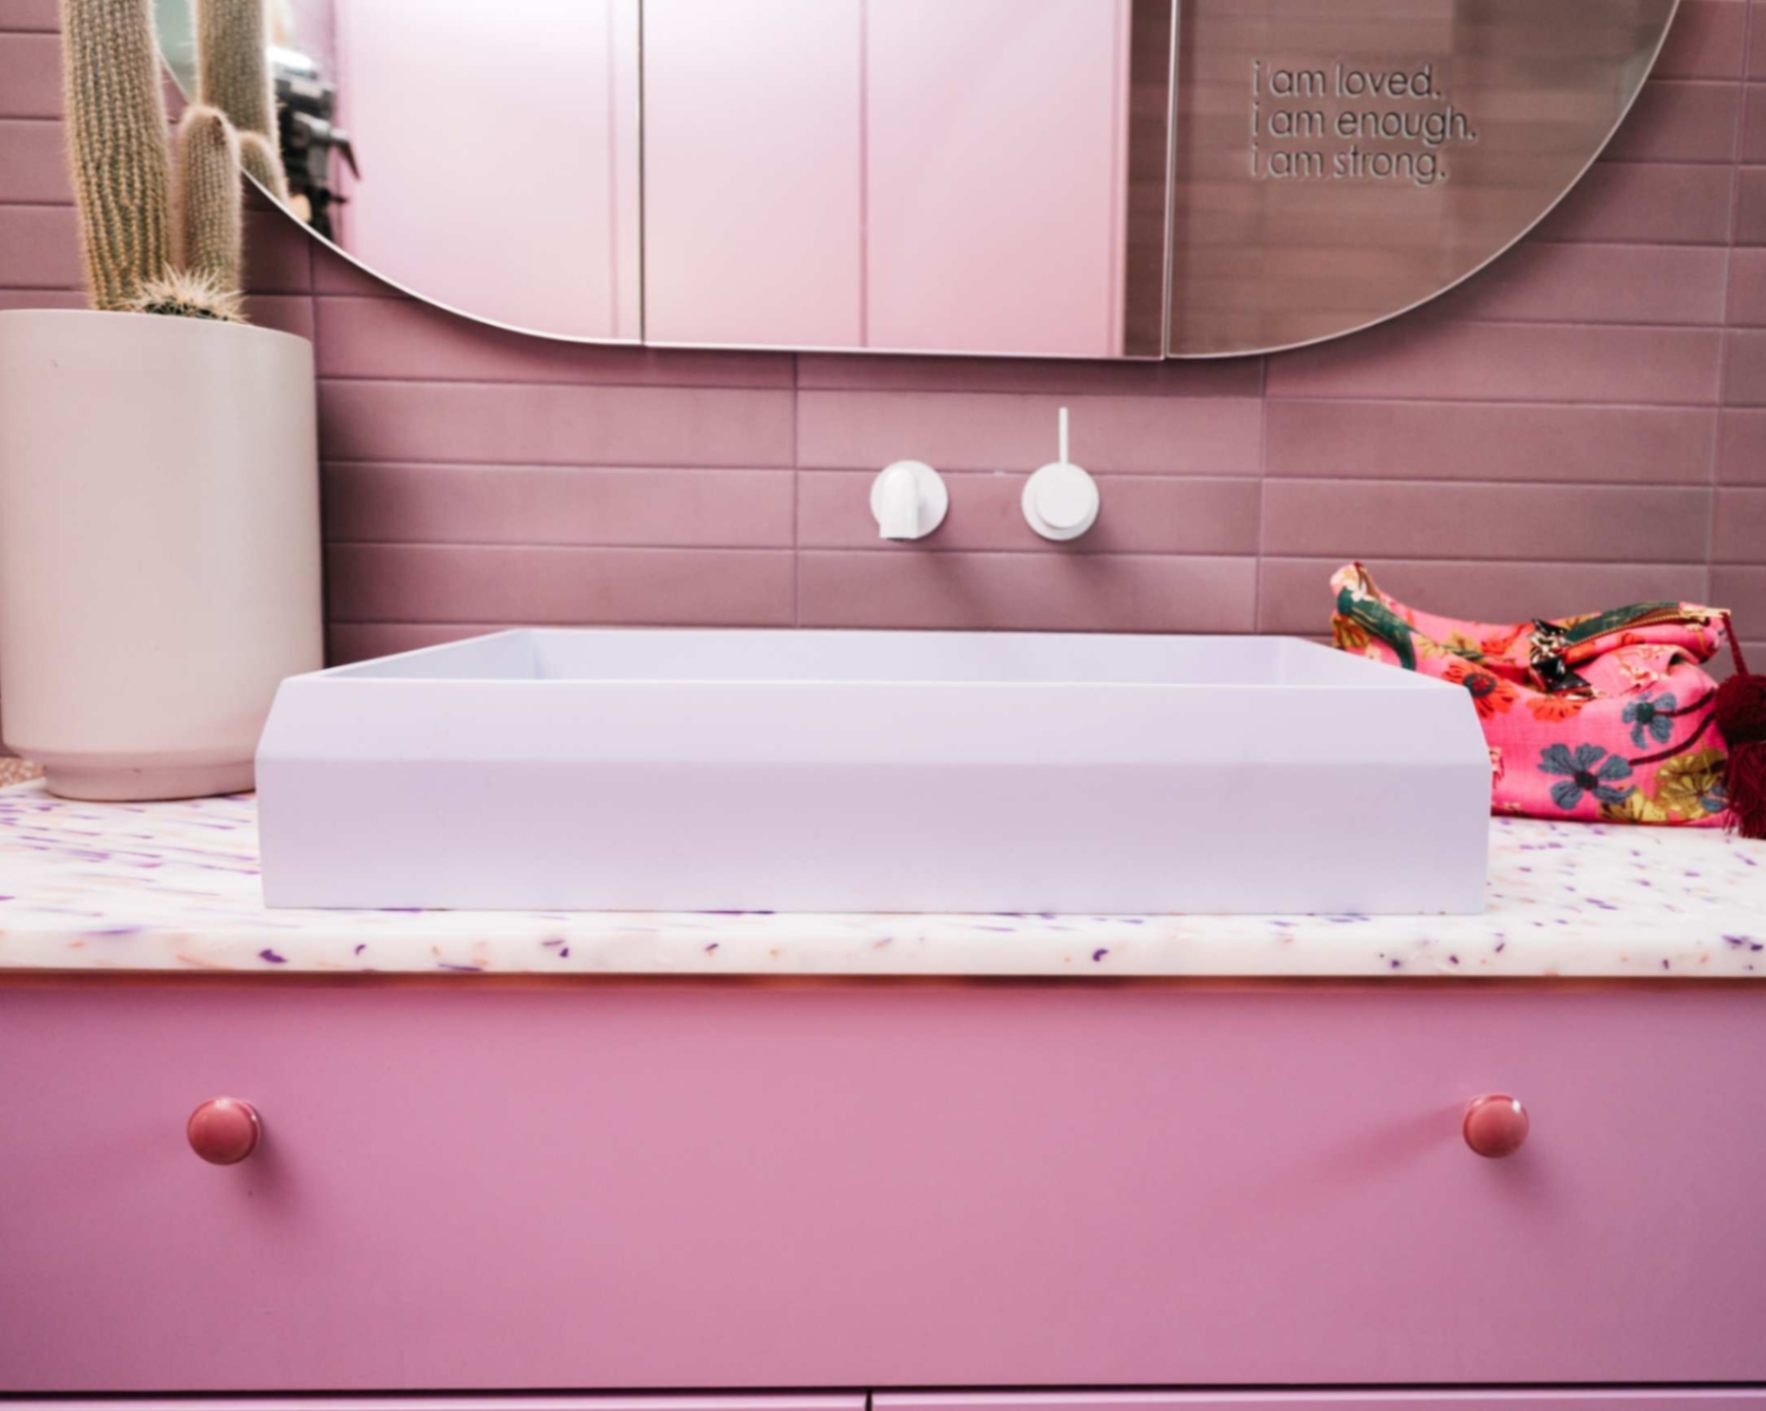
Also Read: 40+ Powder Room Ideas: Bold, Modern & Luxury Tips
Coffered Ceiling Design Ideas and Inspirations

Photo by JodiJacobson
A coffered ceiling isn’t just a grid of squares—it’s a design canvas above your head. Done well, it can completely change the way a room feels. Here are some inspired ways to bring coffered ceiling designs to life in your home:
1. Timeless White Elegance
Classic white coffers never go out of style. They’re crisp, clean, and versatile—perfect for Hamptons-inspired living rooms or Federation-style homes. Pair them with soft wall tones and brushed nickel fittings for understated luxury.
Inspiration: Imagine stepping into a dining room where the crisp white coffers reflect candlelight, setting the stage for every meal to feel like an occasion.
2. Bold Contrast with Dark Beams
For those who love drama, consider dark-stained timber beams set against pale recesses. This look works beautifully in contemporary spaces with large windows, grounding the room while adding a sense of structure and richness.
Pro tip: Use matte black pendant lighting to echo the lines of the coffers and tie the design together.
3. Minimalist Modern Coffers
Shallow, slimline coffers bring depth without overwhelming lower ceilings. Perfect for apartments or modern Australian homes, they add architectural detail while keeping the vibe fresh and uncluttered.
Inspiration: Think of a living space with neutral furnishings and a low-profile coffered ceiling where recessed LED strips wash the panels in warm light—a calm, contemporary retreat.
4. Lighting as a Feature
Coffered ceilings and lighting are a natural pairing. From grand chandeliers suspended in the centre of a grid to subtle LED strips highlighting each recess, lighting transforms the ceiling into a design feature rather than a background.
Design tip:Layer lighting—pendants for drama, LEDs for ambience, and dimmers for flexibility.
5. Coastal Hamptons Inspiration
Australians love a coastal touch. White-painted coffers paired with sandy neutrals or soft blues give rooms that breezy Hamptons feel. Add driftwood-toned flooring and sheer curtains to complete the seaside-inspired look.
Inspiration: A lounge where the ceiling echoes the rhythm of the ocean outside—bright, airy, and timeless.
Also Read:
6. Statement Panels and Skylights
For something unique, use the recessed panels as feature spaces. Wallpaper with texture, metallic finishes, or even a skylight in one of the coffers can make the ceiling a talking point.
Pro tips:
- For a home office or library, consider lining the recesses with timber veneer—adding warmth, character, and a sense of craftsmanship.
- In open-plan layouts, use coffered ceilings to subtly “zone” areas—like defining a dining area without walls.
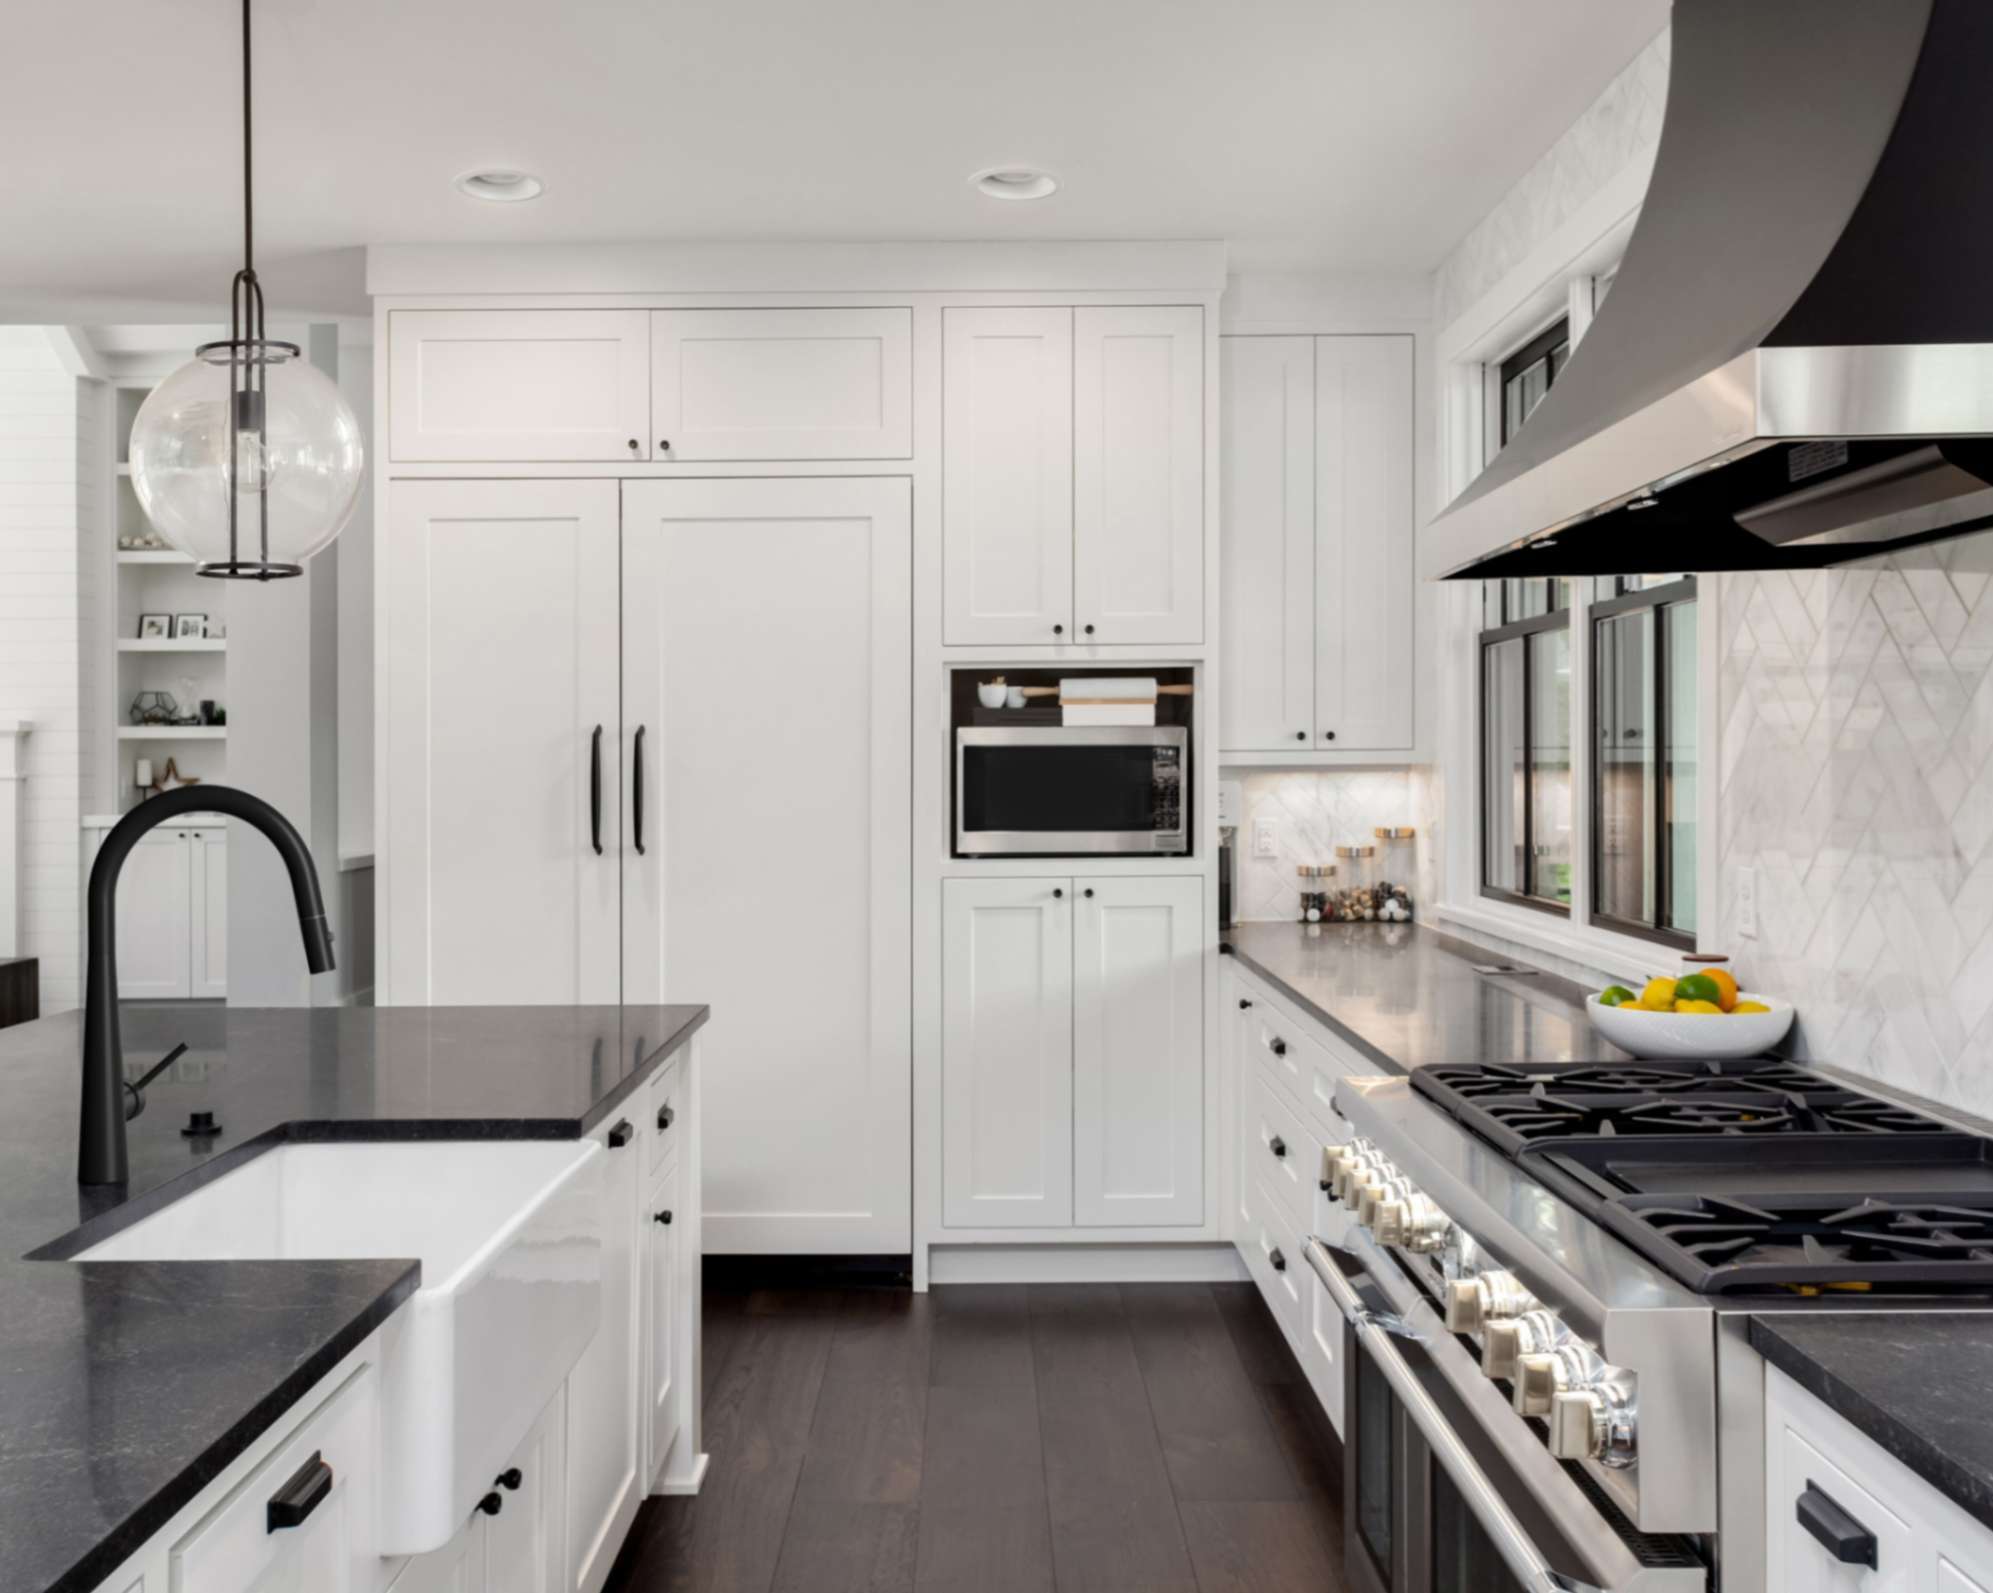
How to Build a DIY Coffered Ceiling

Photo by Feverpitched
A coffered ceiling can dramatically lift the look of a room, giving it depth, elegance, and character. While it’s a project that requires careful planning, the results can rival custom installations if executed well. Below is a step-by-step guide tailored for Australian homes.
Tools & Materials Checklist
Tools
- Stud finder
- Measuring tape + laser measurer
- Chalk line
- Miter saw
- Drill/impact driver
- Brad nailer
- Multi-tool
- Optional: table saw, caulking tool, sander
Materials
- 2×6 boards (framing + beam structure)
- ¾″ plywood (or 1×6 boards) for beam bottoms
- Baseboards (for side panels)
- Crown moulding (for beam detailing)
- Chair rail or perimeter trim (optional finishing)
- Screws: 3″ and 2.5″ construction screws
- Caulk, wood filler, shims, sandpaper
Step-by-Step Guide to Building a Coffered Ceiling
Step 1: Plan & Design
- Collect inspiration: Look through Pinterest, design blogs, or Australian renovation forums for coffered ceiling designs.
- Decide on grid layout: Square or rectangular boxes, beam depth, and overall proportions.
- Measure the room: Use a laser measurer for accuracy; sketch a ceiling plan with beam layout.
- Mark obstacles: Note locations of vents, smoke detectors, fans, or downlights.
- Consider ceiling height: Best suited for 2.7 m+ ceilings; if yours is 2.4 m, opt for shallower beams (around 75 mm).
Step 2: Prep Work
- Locate joists using a stud finder.
- Snap chalk lines to mark beam positions.
- Trace beam widths with a scrap 2×6 to avoid guesswork.
Step 3: Frame with 2×6 Boards
- Perimeter beams: Secure beams around the room edges first, fixing them directly into joists with pre-drilled holes.
- Main beams: Run perpendicular to joists, fastening with 3″ screws. For longer spans, join boards with angled toenail screws.
- Crossbeams: Attach between main beams, again using toenailing. Use two screws at each end for solid fixing.
Step 4: Set Beam Depth
- Standard beam depth: 75–125 mm.
- Install spacer blocks (every 400 mm) to create depth.
- Fix plywood or 1×6 strips to beam bottoms with brad nails.
- Level with shims where needed, then fill seams and sand smooth.
Step 5: Add Side Panels
- Cut baseboards to length (measure each gap individually).
- Nail side panels to spacers.
- Choose your look:
- Slight gap = traditional feel.
- Flush finish = sleek, modern coffered ceiling.
- Caulk joints before adding mouldings.
Step 6: Install Crown Moulding
- Cut pieces one by one—Australian homes rarely have perfectly square corners.
- Install with a partner for tight corner joins.
- Use 38 mm brad nails to fix into wedges and ceiling.
Step 7: Add Perimeter Trim (Optional)
- Fit a slim chair rail or similar trim around the room edges.
- This not only covers gaps but elevates the finished look.
- Caulk along all seams for a seamless effect.
Step 8: Paint & Finish
- Colour options:
- Crisp white (classic).
- Two-tone contrast between beams and panels.
- Dark tones for a contemporary coffer ceiling.
- Use durable paints: satin enamel for beams, flat or eggshell for panels.
- For the best finish, spray paint; if brushing, use angled brushes and mini rollers.
- Paint vents and fittings to blend in.
- Optionally, integrate downlights or pendants within coffers.
If you want an easy video tutorial you can follow, you can also check out Insider Carpentry - Spencer Lewis’ tutorials on building a coffered ceiling with a modern twist.
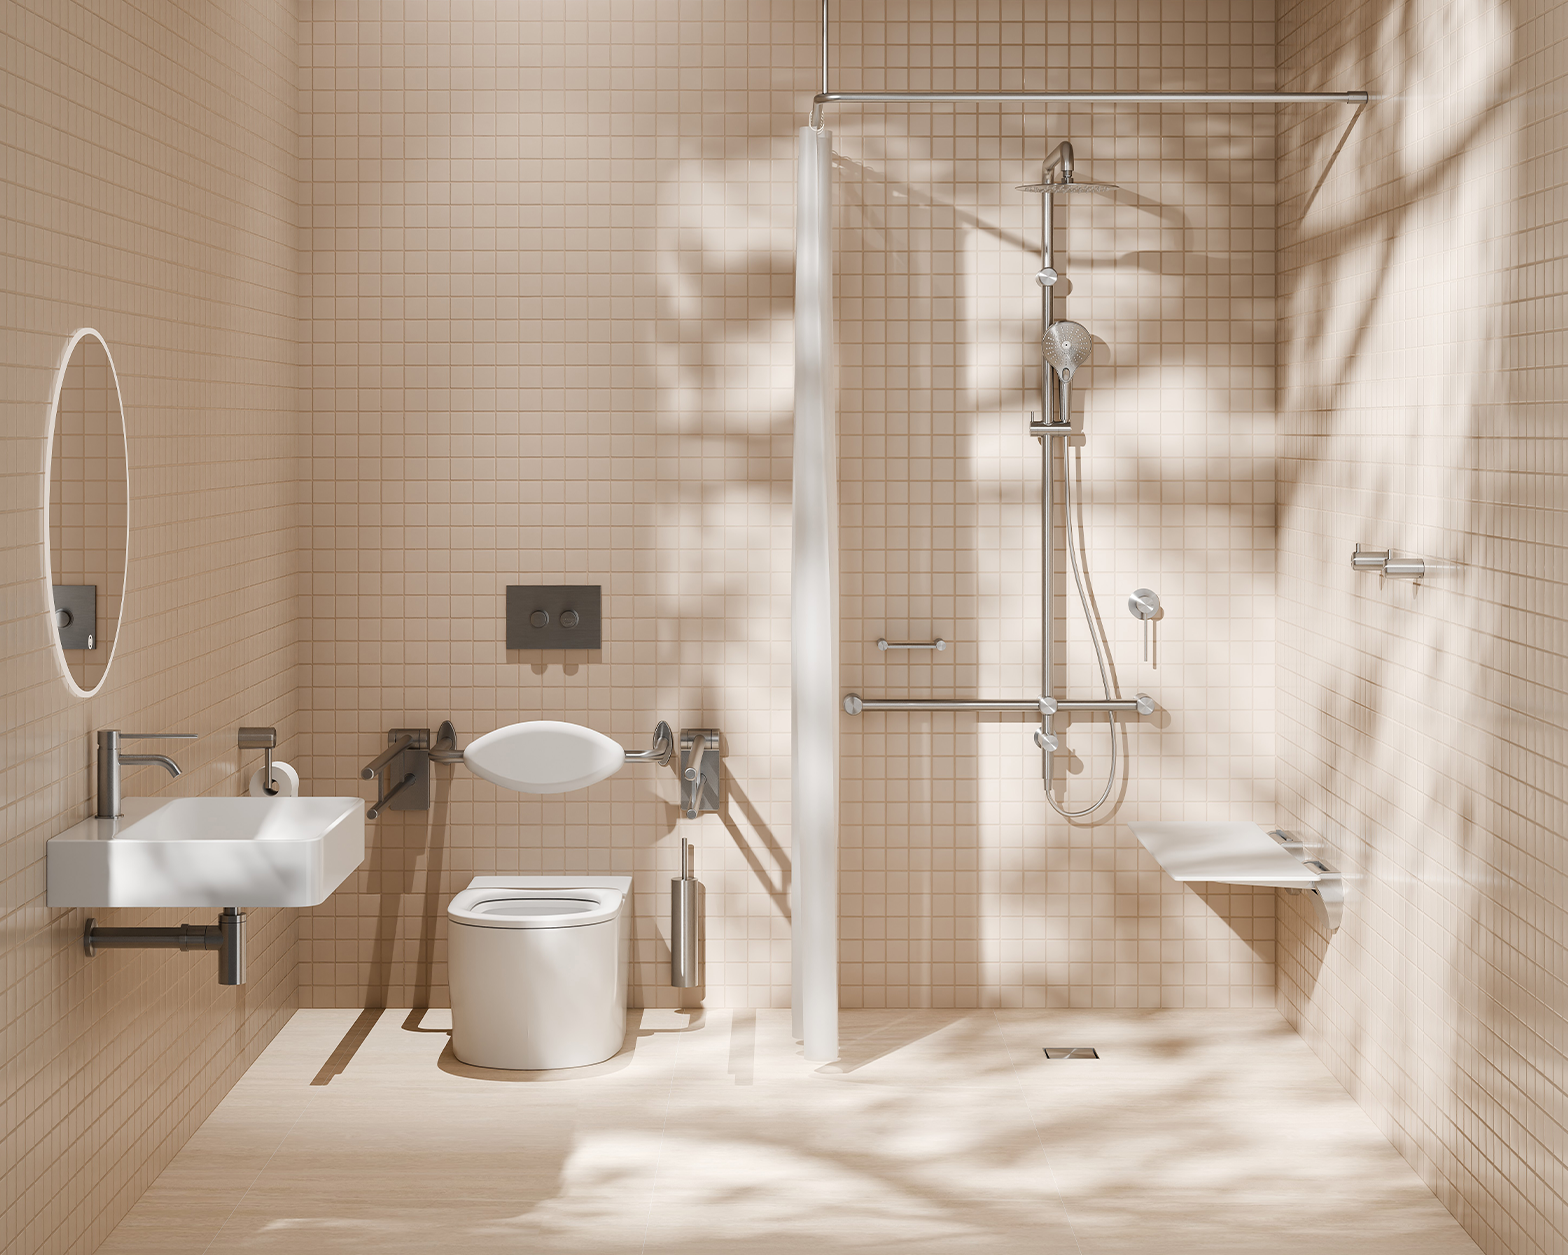
Also Read: Oatmeal Bath Guide: Benefits, DIY Recipes & Skin Relief Tips
Expert Tips & Best Practices for Building Coffered Ceilings

Photo by irina88w
- Check structure first: Never add heavy framing without confirming ceiling capacity. For older Federation or Queenslander homes, consult a builder.
- Plan digitally: Use layout apps or CAD tools to test proportions before cutting timber.
- Moulding choice matters: Match the moulding profile to your home’s architectural style—Victorian homes suit ornate profiles, while modern coffered ceilings work best with clean-lined trims.
- Lighting integration: Consider recessed LEDs or dimmable pendants early in your planning. Retrofitting later is costly.
- DIY vs. professional: Confident DIYers can handle framing and panelling, but for luxury spaces or heritage homes, a carpenter ensures flawless execution.
- Acoustics bonus: Coffered ceilings naturally soften echoes—ideal for large open-plan living areas.
Pro Tip: In Australian homes with 2.4 m ceilings, use shallow beams (50–75 mm) and light trims to avoid making the space feel cramped. Pair with pale paint colours to maintain a sense of height.
Also Read: [Ultimate Guide] Outdoor Spa Ideas & Backyard Spa Designs (2025 Edition)
FAQs About Coffered Ceilings
Are coffered ceilings still in style?
Absolutely. They’ve never truly gone out of fashion. Modern updates include earthy tones, slimline profiles, and integrated LED strips for a more contemporary coffered ceiling feel.
What ceiling height do I need?
Ideally 2.7 metres or higher. Deeper coffers suit taller ceilings, while shallower designs can work in lower spaces without overwhelming the room.
Which rooms are best suited?
- Living rooms: Perfect for anchoring a fireplace or creating a statement ceiling.
- Dining rooms: Adds formality and symmetry.
- Entryways or hallways: Delivers a bold first impression.
- Bedrooms: Softens the atmosphere with understated depth.
- Home offices or libraries: Improves acoustics while adding gravitas.
What are the benefits of coffered ceilings?
- Aesthetic: Instantly elevates interiors with depth and character.
- Acoustic: Reduces echo in large or open-plan rooms.
- Functional: Cleverly conceals wiring, ducts, or ceiling flaws.
- Architectural: Suits both classic and luxury modern homes.
- Spatial illusion: Makes rooms appear taller and more open.
- Lighting integration: Enhances decorative and practical lighting schemes.
Do coffered ceilings add value to homes?
Yes. Buyers often see coffered ceilings as a premium design feature—signalling craftsmanship, quality, and attention to detail. For many properties, they boost both appeal and potential resale value.
Also Read: Master Bedroom Ideas: 60 Expert Tips for Style, Comfort & Function
Conclusion & Next Steps
Coffered ceilings strike the perfect balance of style, acoustics, and long-term value. They bring depth, absorb sound, and instantly elevate the feel of a room—whether in a heritage home, Hamptons retreat, or sleek contemporary apartment.
When planning yours:
- Scale the depth of the coffers to your ceiling height.
- Choose mouldings and finishes that complement your architecture.
- Decide early whether DIY or professional installation suits your skills and budget.
Next Steps: Pairing Coffered Ceilings with Nero Tapware

To truly complete the look, align your ceiling details with fittings that echo the same design language. Nero Tapware’s collections provide finishes that pair seamlessly with coffered ceiling styles across different home aesthetics:
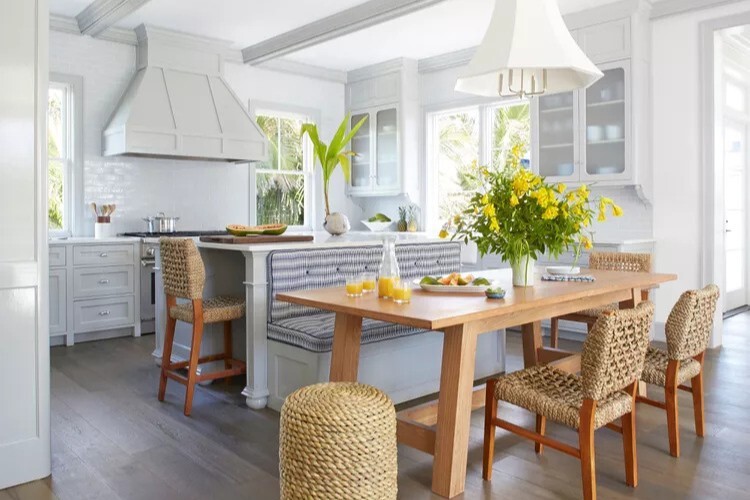
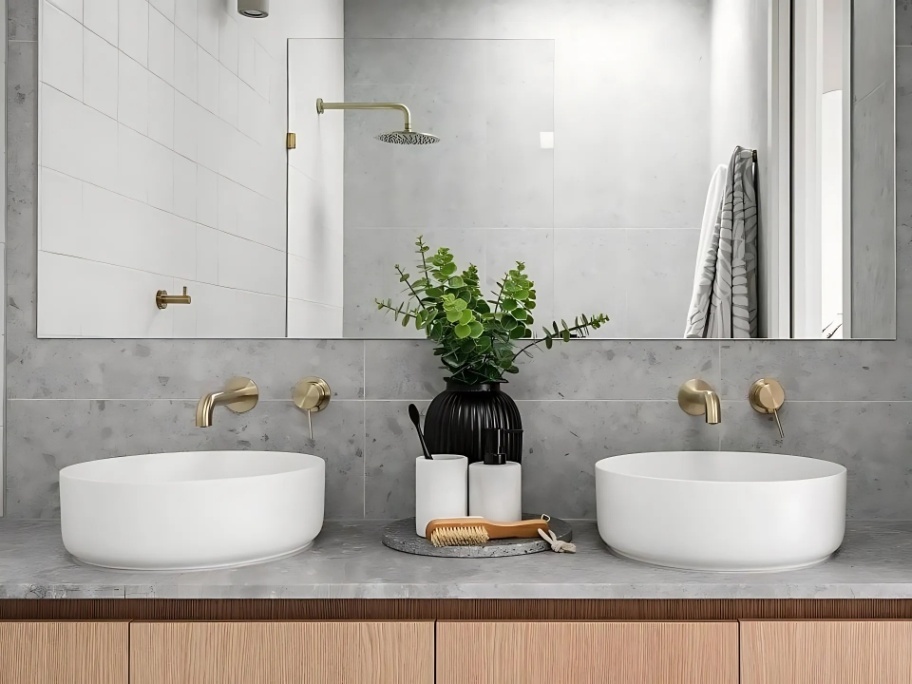
1. Hamptons-style homes → Luxe coastal feel
- Best finishes: Brushed Nickel, Chrome, Brushed Brass.
- Why: Hamptons interiors rely on crisp whites, airy blues, and natural textures. Brushed Nickel and Chrome reflect light beautifully, keeping the scheme bright and breezy, while Brushed Brass adds warmth for a modern coastal edge.
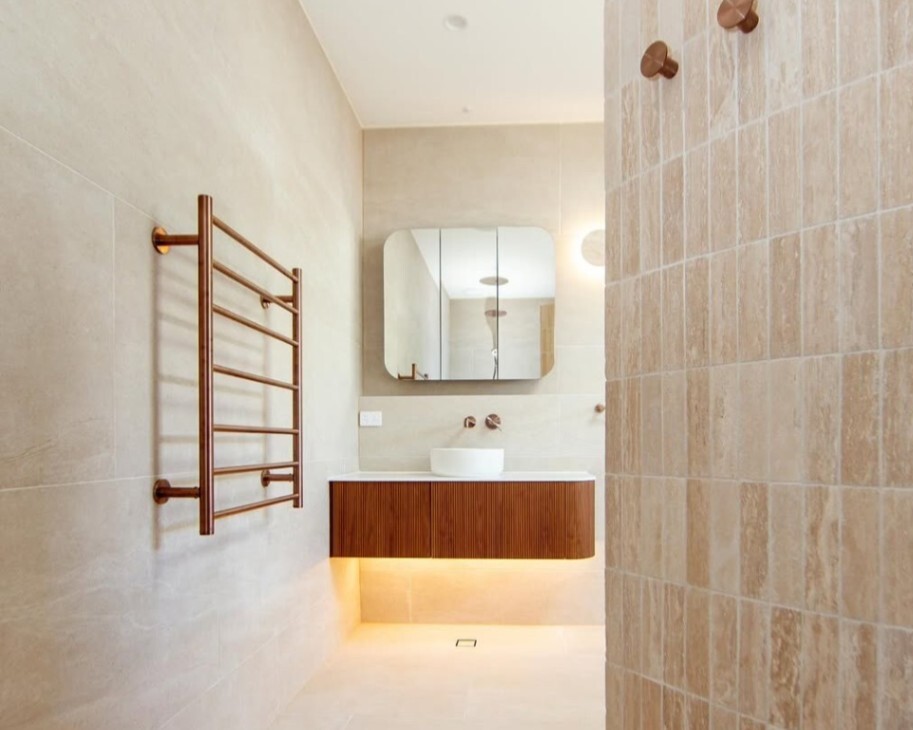
2. Historical / heritage homes (Victorian, Georgian, Federation)
- Best finishes: Brass (Polished or Brushed), Bronze, Matte Black.
- Why: Heritage homes are defined by ornate detailing and darker timbers. Brass offers authenticity and a timeless patina, Bronze deepens the heritage feel, and Matte Black introduces contrast while respecting traditional forms.
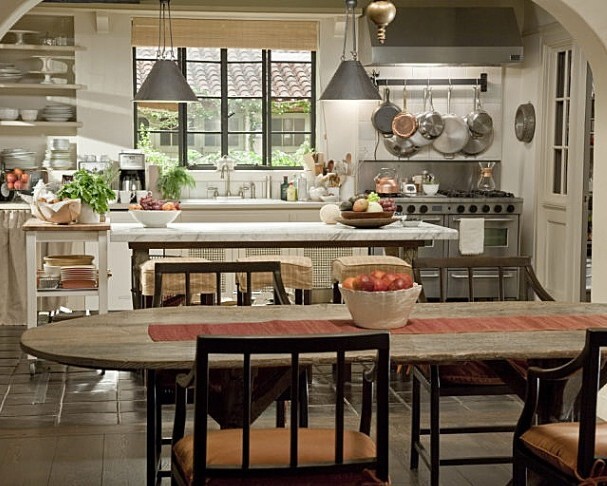
3. Cape Cod architecture
- Best finishes: Chrome, Brushed Nickel, Gunmetal.
- Why: Cape Cod design is symmetrical, simple, and understated. Chrome and Brushed Nickel keep the palette clean and classic, while Gunmetal provides a modern edge that still respects the home’s balanced proportions.
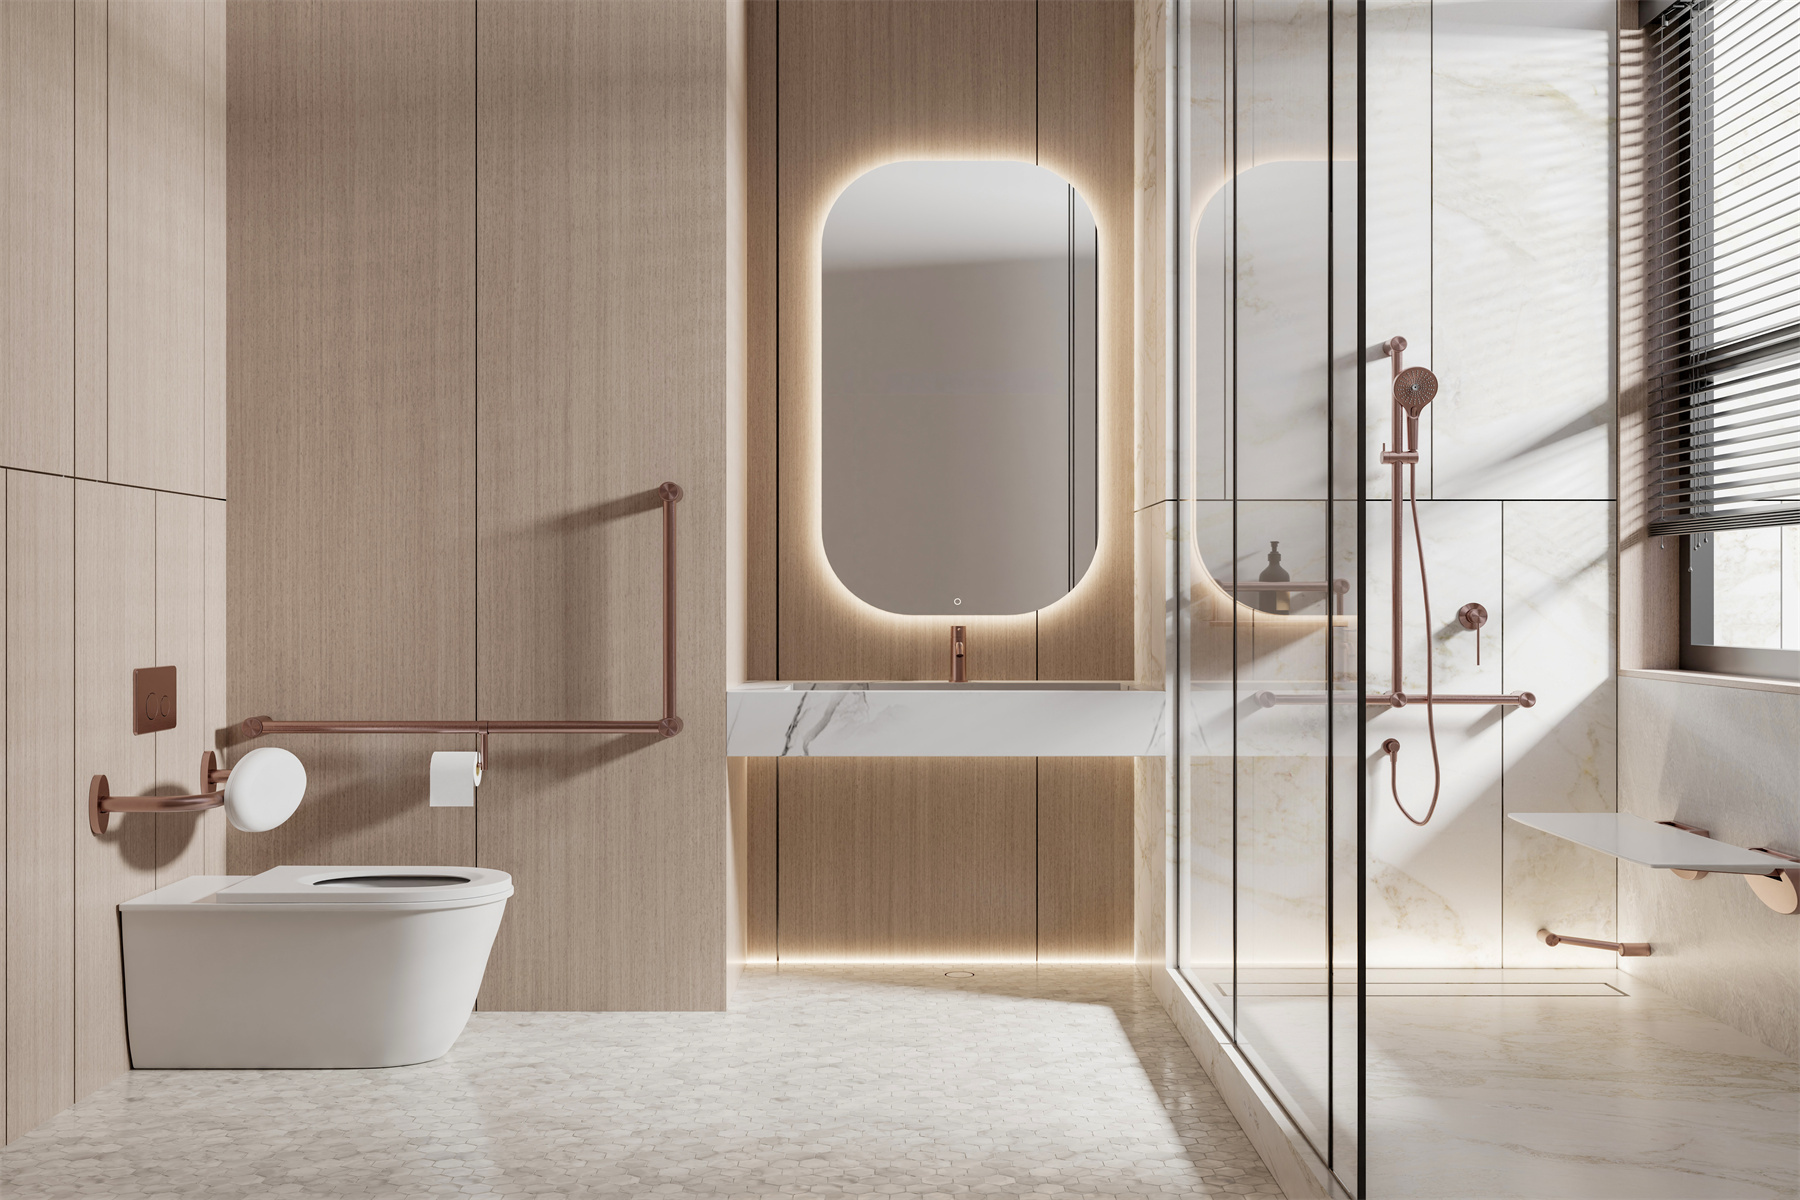
4. Modern & contemporary homes → Clean, minimalist interiors
- Best finishes: Matte Black, Gunmetal, Brushed Nickel, Matte White.
- Why: Contemporary spaces thrive on sleek lines and neutral tones. Matte Black and Gunmetal create bold contrast against pale ceilings, while Brushed Nickel and Matte White blend seamlessly for a soft, minimalist aesthetic.
Pro tip: Think of your ceiling and tapware as part of the same conversation. If your ceiling detailing is intricate, choose simpler tapware to balance the space; if the ceiling is restrained, a bolder tapware finish can inject personality without overwhelming the design.
Uncover the Full Range of Nero Tapware
Looking for the perfect tapware to suit your design? In addition to our diverse range of finishes, we offer a variety of collections to suit every taste. From the bold Serenityto the sophisticated Yorkand sleek Zen, you'll find your perfect match in Mecca, Opal, Bianca, Kara, Dolce, and Claudia.
Also Read: